

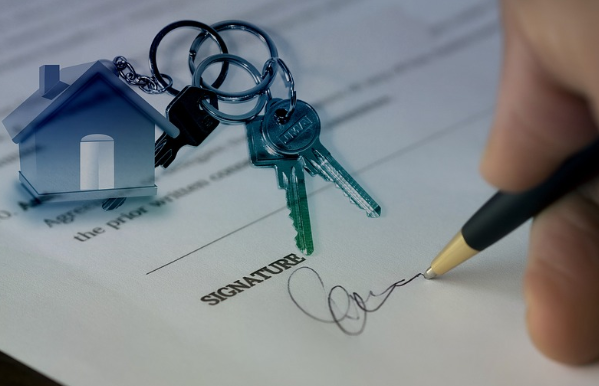
Are you looking to sell your house? If so, you’re in luck. This guide will give you all the information you need to get your home on the market and sell it quickly. We’ll go over everything from preparing your home for sale to negotiating with potential buyers. So whether you’re a first-time seller or have been through the process, this guide will have something for you.
Hire an Agent Who Knows the Market
 When you’re ready to sell your house, the first step is finding an experienced real estate agent who knows your local market. Your agent will be responsible for pricing your home, marketing it to potential buyers, and negotiating on your behalf. So it would help if you found someone you trust and feel comfortable working with. Ask your friends or family for recommendations if you’re unsure where to start. Once you’ve found an agent, they’ll help you determine a listing price for your home. It’s important to be realistic about your asking price, as this will affect how quickly your home sells.
Set a Timeline for Selling Your Home
The next step in preparing your home for sale is to set a timeline. This will help you determine how much time you have to get your home ready and give you a goal to work towards. Once you have a timeline set, you can begin the process of decluttering, deep cleaning and making any necessary repairs or updates. If you’re not sure how long it will take to sell your home, consult with a real estate agent. They will be able to give you an estimate based on recent sales in your area and the current market conditions. Once you have a timeline, it’s time to start getting your home ready for sale.
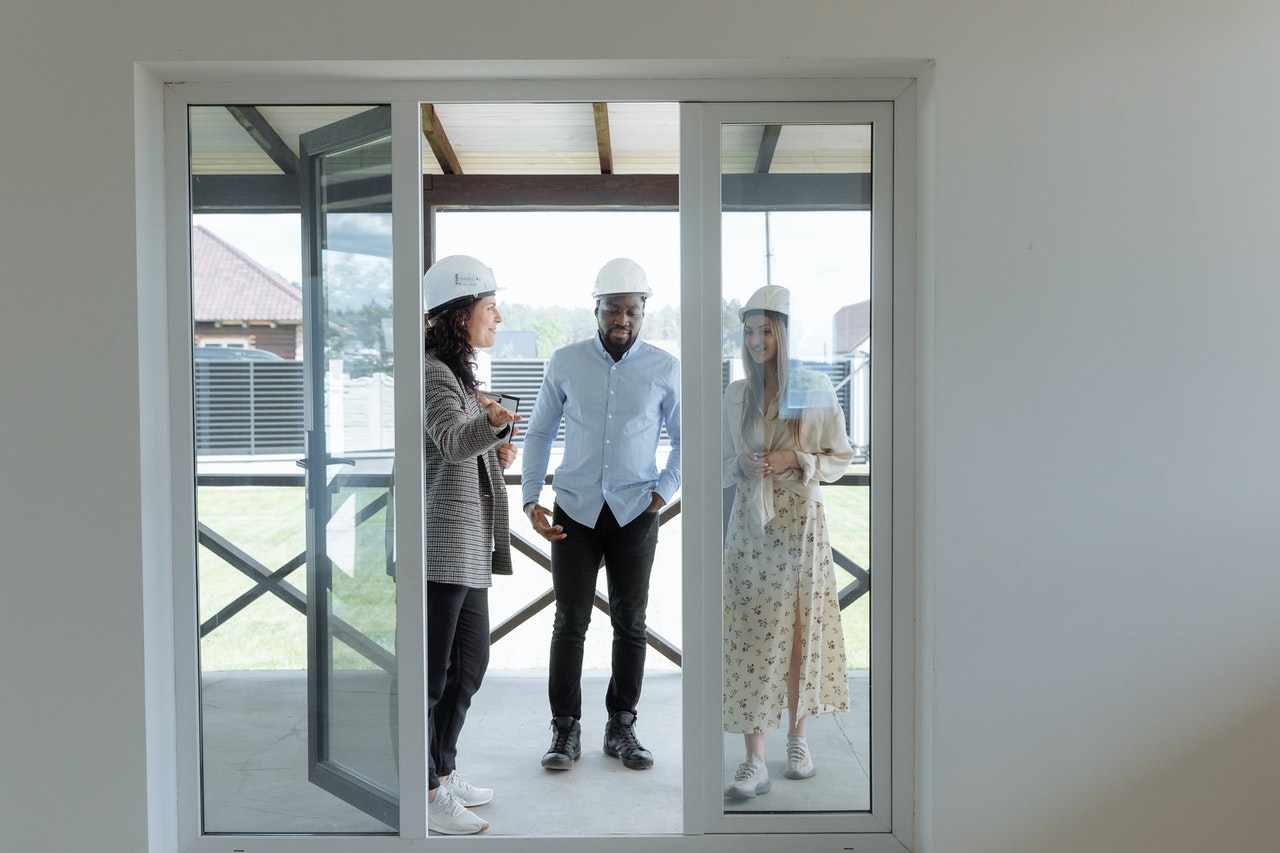
Get a Pre-sale Home Inspection
 The other step is to get a pre-sale home inspection. This will give you an idea of what needs to be fixed before putting your house on the market. It will also help you determine a realistic price for your home. If you’re unsure how to find a reputable home inspector, ask your real estate agent for recommendations. Once you have a list of potential inspectors, check their credentials and reviews. You can also ask for references from past clients. When you’ve found the right inspector, schedule an appointment and be present during the inspection.
Get Professional Photos
This is one of the most important aspects of selling your home and can significantly affect how quickly your home sells. Professional photos will make your home look more appealing to buyers and help you stand out from other listings. Be sure to hire a photographer who has experience taking photos of homes. You can also ask your real estate agent for recommendations. If you’re selling your home on your own, you can still get great photos by following some simple tips:
 Use a digital camera with at least eight megapixels
- Get plenty of natural light by taking photos during the day
- Use a tripod to avoid blurry pictures
- Edit your photos to make them look their best
 Use a digital camera with at least eight megapixels
With great photos, you’ll be able to capture buyers’ attention and help them see your home in its best light. Professional photos are worth the investment and can significantly affect how quickly your home sells.
Now that you know how to entice home buyers, it’s time to start. The first step is finding an experienced real estate agent who knows your local market. They will help you determine a listing price, make repairs or upgrades, and guide you on getting your home ready for sale.
 The first thing you should do is to take a walk around the outside of the property. Check for any signs of damage to the exterior structure, such as cracks in the foundation or siding, loose gutters, or missing shingles. If there is any damage, make sure to get an estimate from a contractor for repair costs. You will also want to take note of the condition of the landscaping. Is the lawn well-maintained? Are the shrubs overgrown? Make sure to factor in the cost of any necessary landscaping work when you evaluate the property’s overall cost.
 Last but not least, let’s check the plumbing. Turn on all the faucets and flush all the toilets to ensure they are working correctly. Check under sinks for any signs of leaks. Be sure to check the water heater and furnace to make sure they are in good working condition. If you have any concerns about the plumbing, get them addressed before you move in. Buying a new home is a big decision. But, if you take the time to do your due diligence and inspect the property thoroughly, you can be sure that you are making a wise investment. We hope this blog post has helped you understand what should be on your final home inspection walk-through checklist.
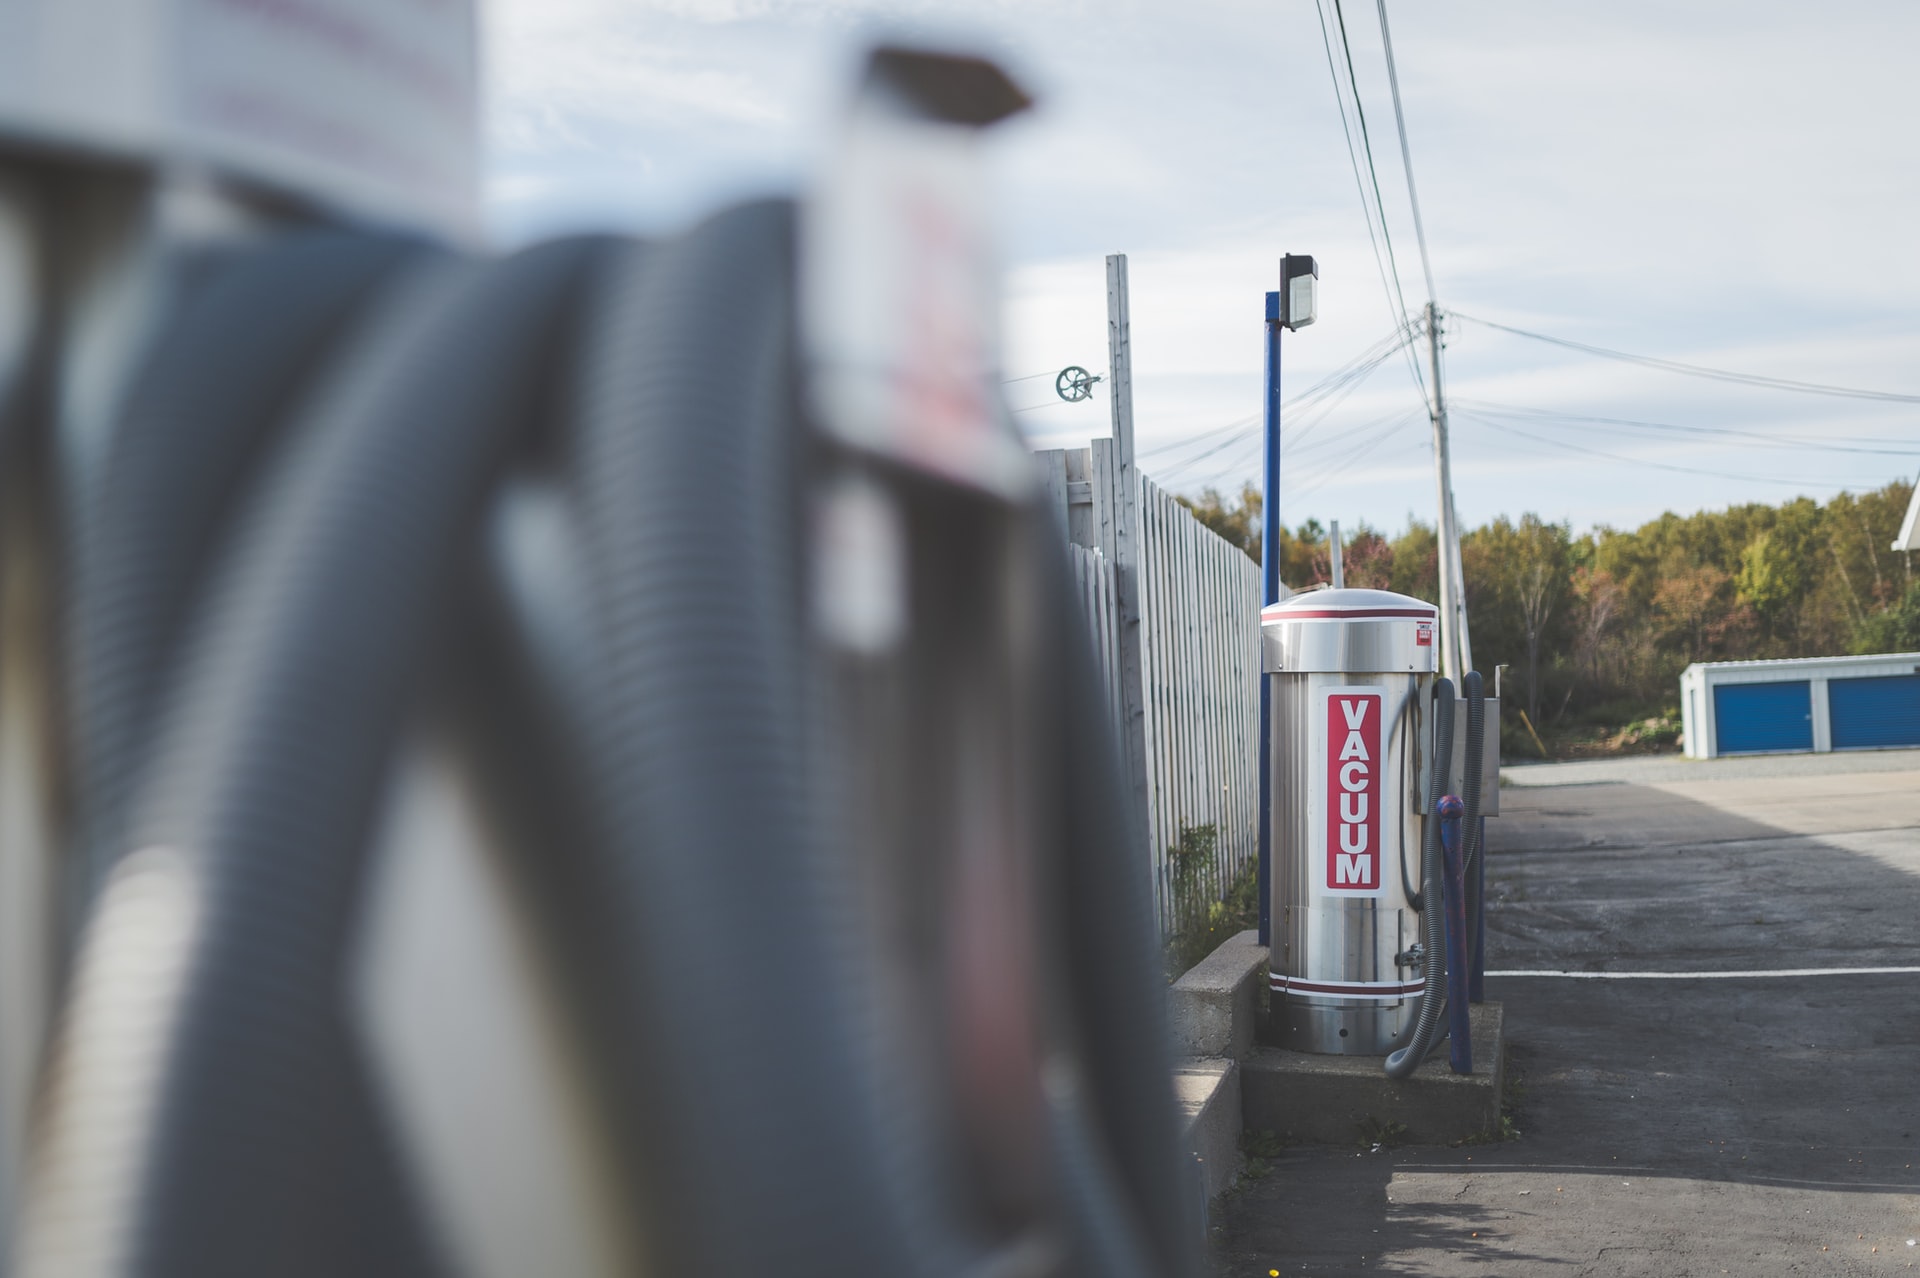
 Each homeowner has specific needs when it comes to home vacuum excavation services. You may need a company that can handle a one-time job, or you may need ongoing service. Perhaps you have a septic tank that needs to be cleaned out, or you may have tree roots growing into your sewer line. Regardless of your needs, it is vital to find a reputable and reliable company that can meet them. Since not all home vacuum excavation companies offer the same services, it is essential to know what you are looking for before hiring one. The good news is that most companies will be willing to give you information on what they offer and what they can do for you.
 Grout sealers can be applied in a few different ways, depending on the type of sealer you choose. Some grout sealers come in an aerosol spray bottle, making application easy. Simply point the nozzle at the grout lines and spray evenly. Other grout sealers come in a pump-spray bottle or a squeeze bottle. These types of sealers require you to apply the sealer directly to the grout lines using the applicator tip.